To make the monoprint, we used brayers to roll water-soluble printing ink directly onto our cleared-off desks. With cotton swabs, brush handles, and gloved fingers we drew quickly into the ink. Putting a piece of contrast-color paper on top, we rubbed it gently all over and gently pulled up to reveal our print.
Usually only one print (mono = one) can be made this way, sometimes there is enough ink for another one.
Because the image we draw in the wet ink is reversed in the print, it was requested that no letters or numbers be included. But some of us wanted to practice backwards-writing.
The ink dries fast, so we can put a new color on top for the next print without cleaning the desk. The layers of colors show through as we scratch into them, adding depth and mystery.
The prints are set aside to dry thoroughly. I mounted some prints to large sheets of colored paper.
Our next session: using a ruler, we drew parallel lines dividing our prints into strips, then numbered them. We used our scissors to carefully cut the strips apart, then laid alternating strips of two different prints on two large contrast-color sheets of paper.
Gluesticks were used to attach the strips to form two new altered, or changed, prints. Some students then created more altered prints with different-sized and shaped strips and pieces. An important step is mounting (I used a stapler) prints to a large contrast or complementary color sheet, to frame it and intensify the color. Presentation is vital! Then all prints are displayed on the wall.
Some altered prints are serene and quiet, some are jazzy and excited.
Sandburg Art Enrichment
Friday, March 23, 2012
Discovery Community School Middles, Secret Identities: self-portraits in costume
Artists have been creating self portraits for many years. Sandburg Fourth Graders and DCS Middles drew their self portraits in a costume of their own design.
First we drew a basic face lightly in pencil, paying attention to getting the proportions of the features correct.
Then we circulated around the boxes of hats, sunglasses, scarves, belts, vests and shirts. Everyone looked in the large mirrors and combined the elements until they expressed themselves in a costume.
Then we returned to our basic drawings and began to add our costume shapes to our self portraits. Continuing to look in the mirror, we added hair and eye color, individual features, and then color with crayons and markers.
Location:
Kirkland, WA, USA
Saturday, March 17, 2012
3rd Grade: Value
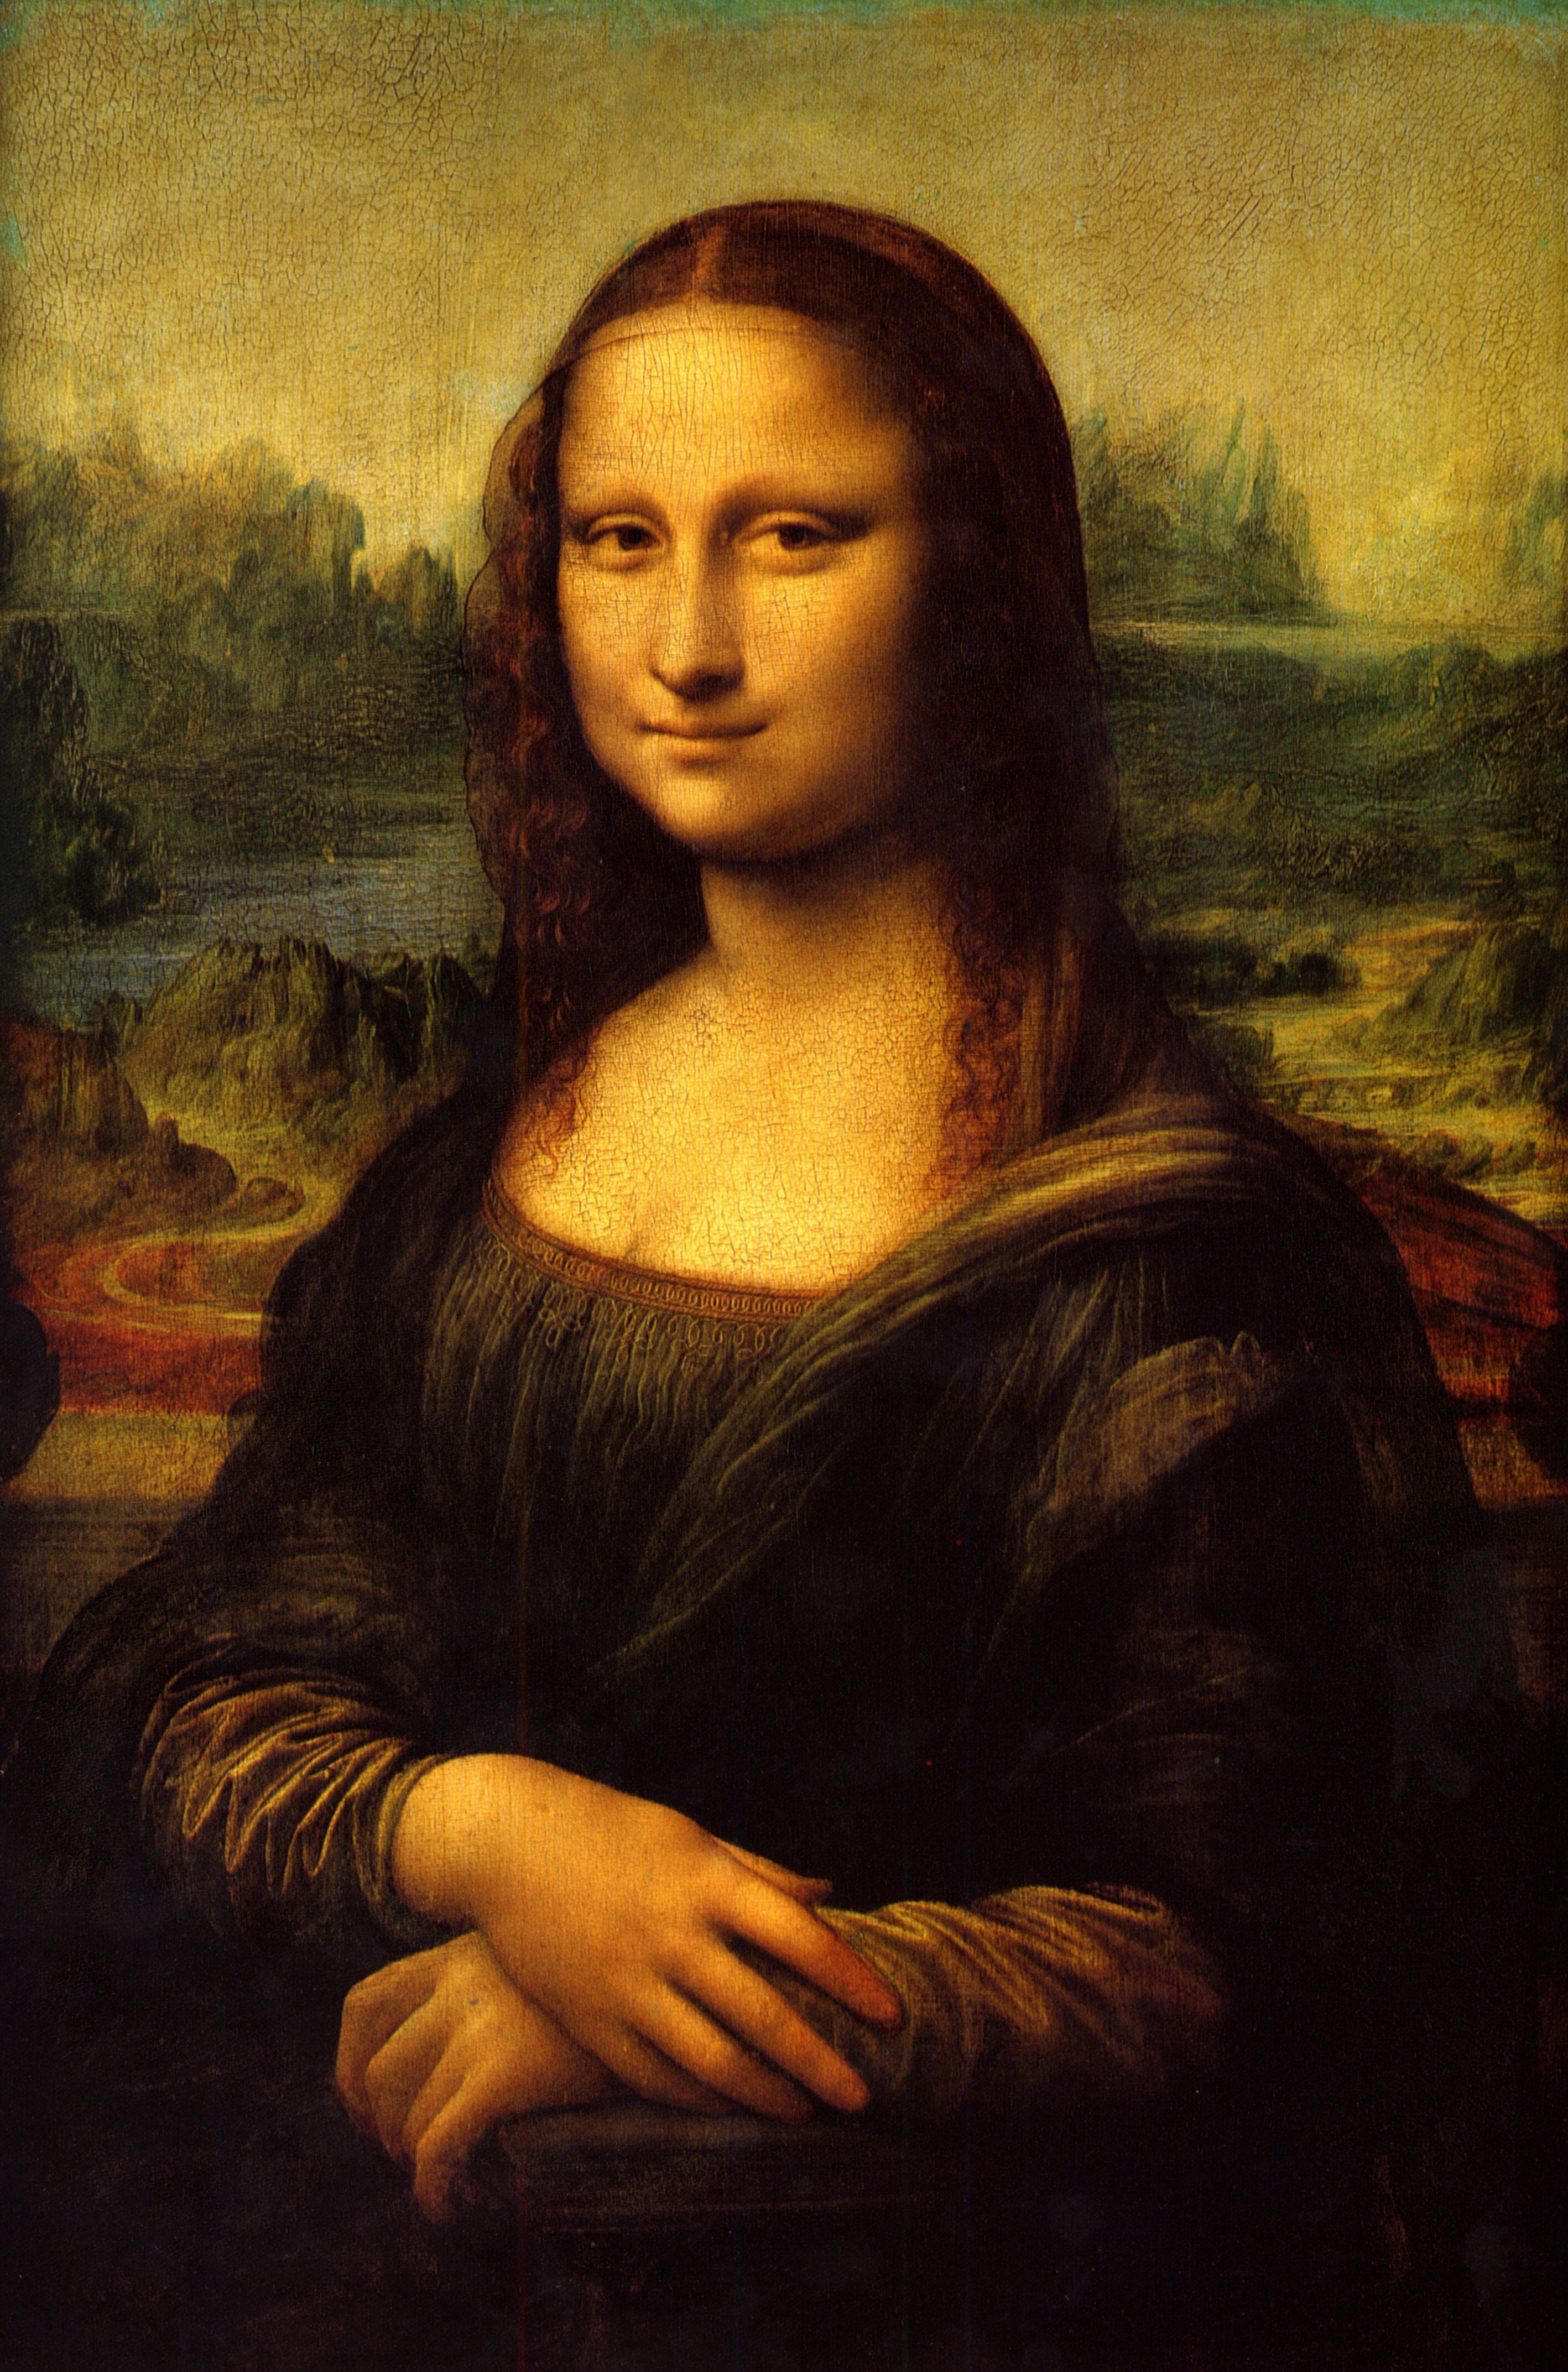
3rd Graders learned about the artist, Leonardo Da Vinci, and his painting, Mona Lisa.
Students were able to examine, use, and produce a range of three values in their art. Value is the lightness or darkness of a color. Students used what they learned about how Da Vinci used shadows and light to portray realistic images that "seemed to come forward out of the page" when they created their pencils.
2nd Grade: Space
Second Graders discussed the painting,
Street in Suburbs by Maurice Utrillo
Students were able to understand, apply, and create the element of SPACE:
behind/in front; foreground; middle ground; background; overlap; placement on page; foreshortening
Students drew themselves falling into space (or pizza, or candy!) with their hands and feet in the foreground.
Monday, March 12, 2012
Painting, next session, and BAM
Dear Parents,
Today we painted our Mexican Suns with acrylic paint.
We also finished adding dots to our Aboriginal art.
Both projects are now complete and ready to go home next week.
Next week is our last class and we will be learning about and creating Polish paper cut designs. I will not be there (I'll be at 5th grade outdoor education with my son), so Mrs. Fornia and Mrs. K will be the instructors.
All artwork will be going home with your child next week.
If you are interested in more after school art, we will have a drawing session after spring break.
"Back to the Drawing Board!”
In this session students will be challenged to build upon their drawing skills, whether they are a first-time art student or an advanced artist! We will begin with lines, basic shapes, shading, shadow, and spatial concepts. Then, we will challenge students with perspective, dimension, blending and texture. Whatever your skill set, this course is designed to challenge you!
We will explore drawing from observation and work with charcoal to render a still life piece. Working with soft chalk pastels, we will discover texture and spatial relationships in a cityscape. With watercolor pencils, we will create perspective in a landscape. We will culminate this session with an acrylic canvas painting that introduces value in color! Join us on this drawing adventure which will explore many mediums and challenge the artist inside of you!
Every first Friday is a special event at the Bellevue Art Museum. Please click on this link to see information about April's art event.
Subscribe to:
Posts (Atom)